If you’ve ever wanted to know how to get started with off-camera flash photography, or perhaps you’ve been wanting to simply your lighting setup for a while now, a one light rig might be the way to go. A single light source is all you need to make a great portrait, and it could be argued that it’s the best way to light someone. We’re used to seeing things outside lit from only one direction by the sun. This visual training has taught us to identify subjects with highlights on one side and shadow on another, so it follows that a single light source may be all we need for great shots. So let’s take a look at how introducing just one light can make a great portrait.
What You’ll Need
Camera with hot shoe
Flashgun
Wireless flash triggers
Lightstand
A softbox/other kind of light modifier
Backdrop
Backdrop stand
The Method For a One Light Portrait
1. Pick a Backdrop
To get started find a nice backdrop indoors, such as a plain wall, or even a nice feature wall with exposed brickwork - anything that’s suitably uniform in colour and texture about 1.5m across by 2m high. We’re going to be shooting a standing portrait, so we’ll need some height above our subject as well as to either side. I’ve opted for a textured vinyl backdrop set up on a backdrop stand because I was shooting in a home with pictures on the walls which would’ve introduced lots of reflection problems.

My vinyl backdrop was placed on a backdrop stand and held down with clamps
2. Set up Your Light
Next I used a Yongnuo YN685 flashgun with a Yongnuo YN622N i-TTL wireless flash trigger transceiver for my light source. I placed the Yongnuo YN622N-TX i-TTL wireless flash controller on the hot shoe of my Nikon D750 so that I could change the light’s settings remotely.
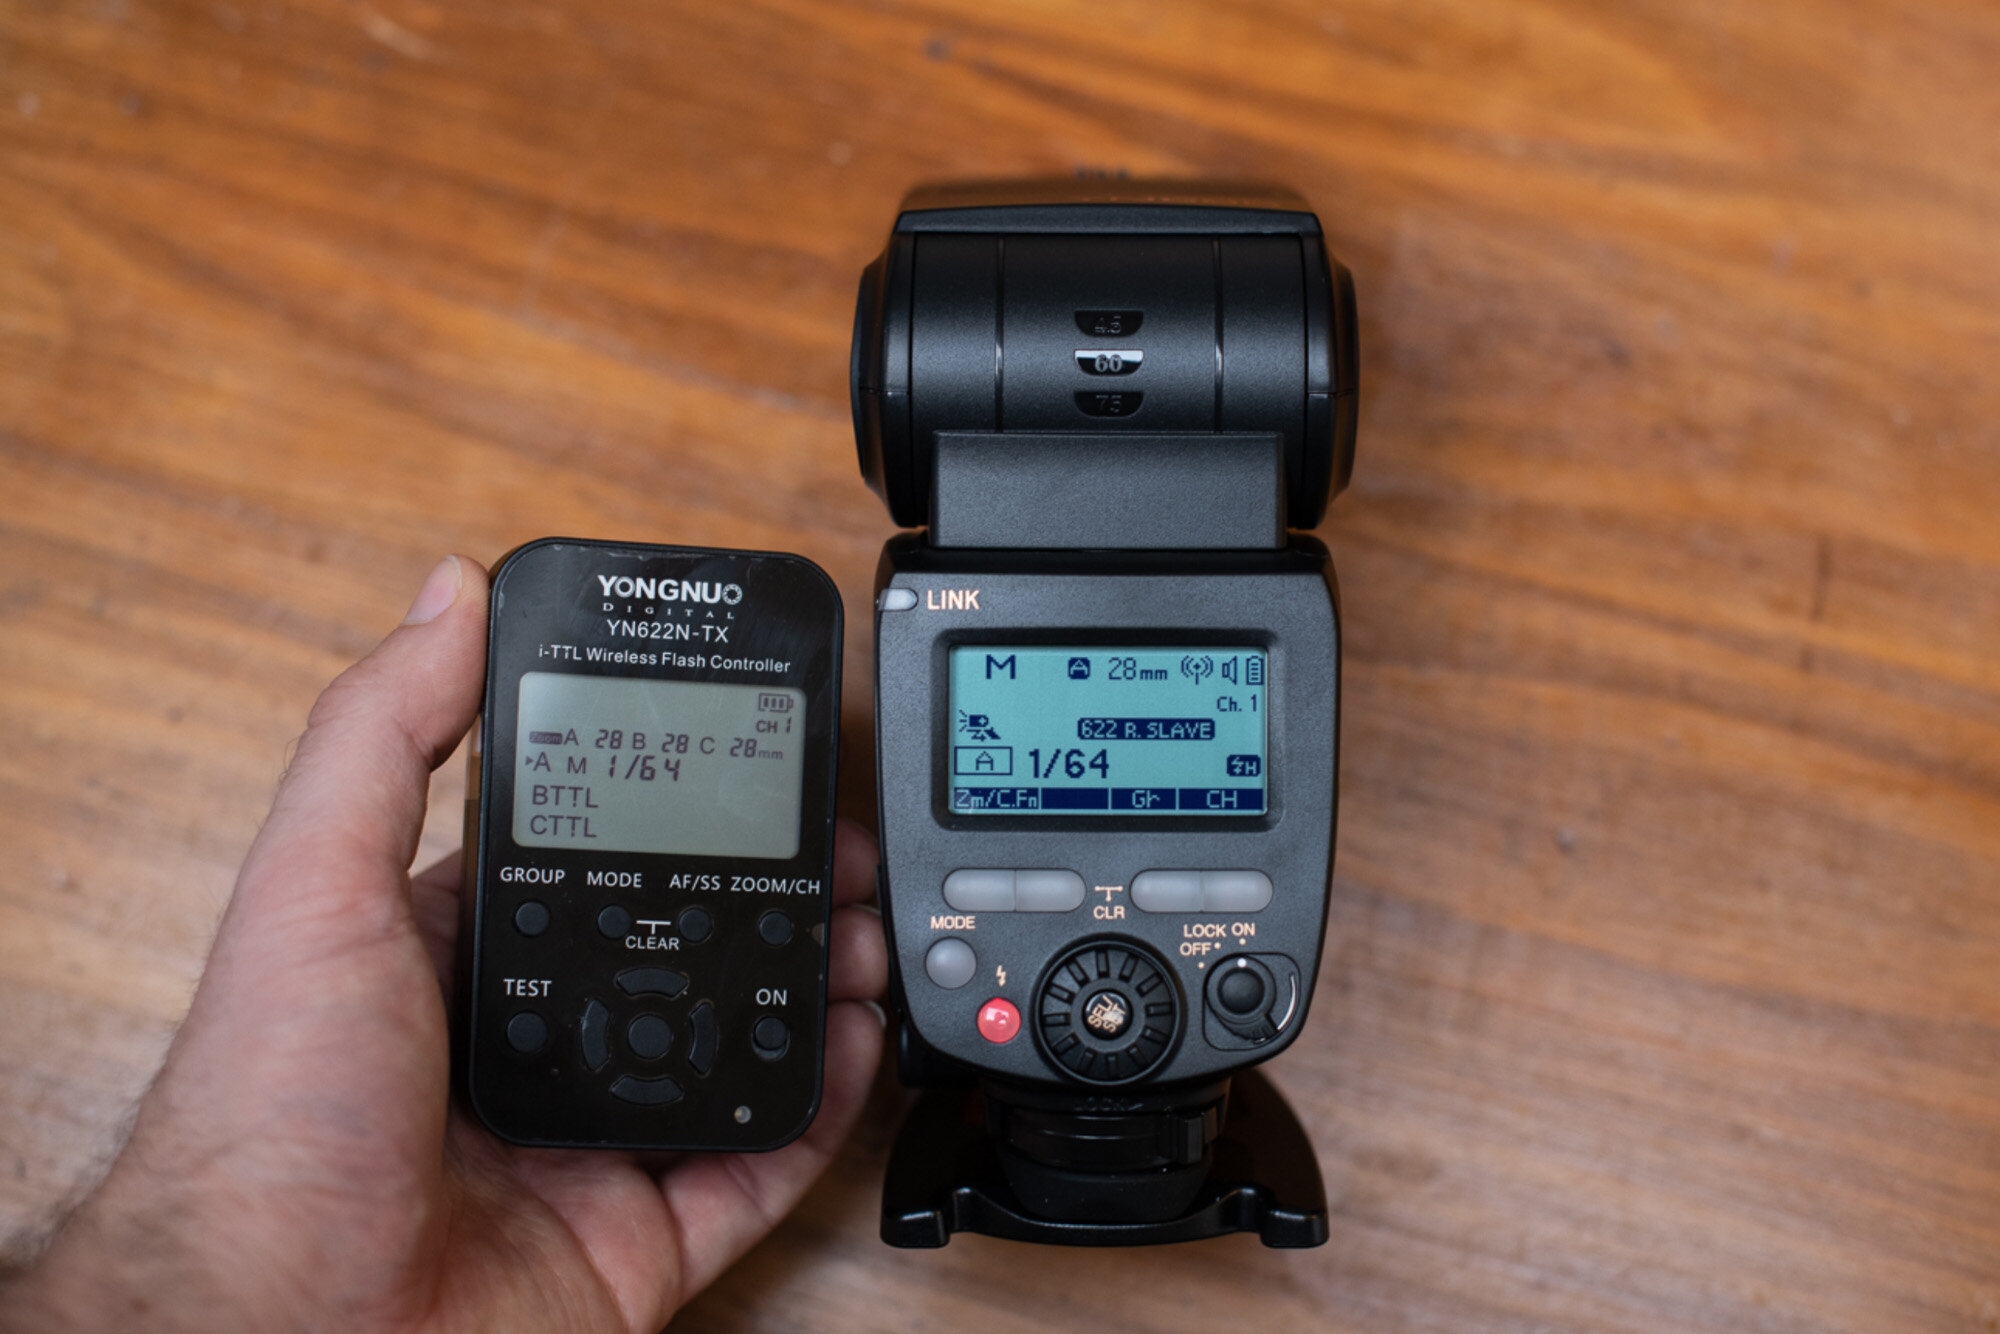
The Yongnuo YN685 speedlight works wirelessly with the YN622N-TX i-TTL wireless flash controller, meaning its power and zoom settings can be controlled via the flash controller on the hot shoe of the camera
3. Diffuse for Softer Shadows
I then placed the flashgun and wireless trigger on a bowens-fit speedlight mount adapter and secured a 1m x 0.5m softbox to the adapter to give a softer, more diffused light. I screwed the adapter onto a light stand and placed it camera-left, in-line roughly with where I wanted my subject.
4 Camera Settings to Remove Ambient Light
In order to remove the ambient light in the room coming from the ceiling lights I switched to manual mode and dialled in an aperture of f/8, shutter speed of 1/200 sec and ISO100. I took a test shot without the speedlight firing to ensure that I had removed the ambient light.

5. Camera Settings and How They Affect the Portrait
The f/8 aperture would both restrict light (helping to remove ambient light) and increase depth of field to ensure the whole of my subject would be rendered sharp. My shutter speed is the sync speed of the flashgun to ensure the entire frame is lit by flash light. The flashgun was powerful enough so that I didn’t need to turn up the ISO sensitivity in order to get a good exposure, which meant I could shoot at ISO100 and keep noise to a minimum.
6. Positioning the Subject
One of the final steps was to place a marker on the ground for my portrait subject to stand over. I put this right in the middle of the backdrop, and about one metre away from it. I moved the light so that it was in-line with my subject and angled it slightly towards the camera to feather the light (this makes the light more diffuse and softer).

A single light source placed camera-left and in-line with our subject lights him from one side, giving a sharp falloff in light across the right side of his face. A softbox helps to diffuse the light for soft shadows whilst a grid (or honeycomb grid) keeps the light directional without excessive spill onto the backdrop.
6. Adjust Flash Power for a Good Exposure
My first few shots with the flashgun set to 1/4 power were slightly overexposed with the settings I had. I was happy with my settings, so I kept them the same and turned down the flashgun power until I got a good exposure at 1/8. I knew it was a good exposure because I wasn’t getting any clipping in the highlights anymore and my shadows weren’t too dark. The subject was easily visible and my histogram didn’t lean against either side of the graph (which normally means clipping and lost detail).

At 1/4 power the flashgun was too powerful and overexposed the portrait, see how the backdrop and left side of my subject’s face is too bright
7. Adding a Grid To Reduce Glare
I went to my shooting position to check I could fill the frame with the backdrop and keep my subject centre and noticed a slight flare coming from the light hitting the front element of my lens. So I placed a grid on the front of the soft box to keep the light more directional, shielding it from hitting my lens, thereby removing the flare.

A grid added to the front of the softbox keeps the light diffuse but directional, meaning less spill on the lens, reducing flare.
8. Add Final Tweaks
With my subject lit well I was happy to start taking my portraits. To keep things nice and relaxed I didn’t ask my subject to pose but simply look off to one side. My subject is a musician and so wanted some shots with his instrument, so I asked him to hold his saxophone as he would on stage and just chill for a minute while I ‘checked the light levels’ - this technique is great for capturing candid, relaxed portraits as the subject feels less pressure to perform.

The subject’s final one-light portrait. He’s removed his glasses as he doesn’t need them for performing and is holding is soprano saxophone as they’re intended for his musicians profile online
If you can it’s good to get some horizontal and some vertical shots to give your client opportunity to pick and choose what’s best for their own use. The vertical shot above works well because it minimises empty space either side, and fills the frame with the subject. The single light source provides strong ciaroscuro - that is - soft, flattering side light which falls off quickly across the face and body, creating dramatic shadows which evoke mood and atmosphere.