Lightroom Classic in 2020 is a powerful image editing software that can not only help you develop your photos but also prepare them for post-production print and web publication. But in this walkthrough I’m going to take you through the basics of getting started, looking at only the most common tools you’ll likely be working with.
An Overview of Lightroom’s Layout
I’ve colour-coded Lightroom Classic into simple block colours to best simplify its layout. There are only five main panels.
Red: This is where you can navigate between photos on your hard drive and divide these photos into separate sections in folders and collections
Orange: The main section of the screen shows your images in thumbnail or large view. Whichever photo you have selected will appear here
Yellow: This panel gives you the ability to edit image data, be that keywords, comments, or editing tools depending on which Module you have selected
Green: Lightroom has seven main modules. I find the majority of my time in only two: Library; and Develop. You may also use Map a lot if you’re interested in GPS-tagging
Blue: The film strip shows a running flow of all images in the folder/collection you currently have selected

Let’s take a look at how each section works, and what you’ll likely be using most often. I’ll be ignoring the minutiae for specialist tasks in order to keep things simple, letting you dive in quickly to the software.
The Library Module
Ordering and Navigating Your Photographs
The images you put on your hard drive are stored independently of Lightroom. Back in the day I used to order my images in folders on the hard drive, then work on them in Photoshop separately. However, these days I import my photos using Lightroom into one giant Catalog and use Collections within the software to separate my images.
Coloured red in the illustration above, and with the Library Module highlighted you’ll see four tabs: Catalog, Folders, Collections, and Publish Services. Click the arrow on the Catalog tab and you’ll see all the photos that have been imported to your Lightroom Catalog. You can see I’ve got over 15,000 images in there, so how do I keep my photos organised? With Collections.
I separate out my landscapes, portraits, and work for clients etc using Collections. They’re arbitrary folders which Lightroom uses to separate the photos visually in the software - they don’t alter where they are in the hard drive.
If you want to view where an image is on the hard drive, click the Folders tab to search through. I rarely need this, but some prefer to organise with Folders rather than Collections because they can backup data without the need for the software. That’s a good idea if you want to switch to competitor software such as Skylum Luminar or Capture One.


Looking Through Your Shots
In the middle (highlighted orange above) the image panel takes priority. In the Library Module you can swap between different views via small icons in the bottom-left.
Grid View (keyboard shortcut G) keeps the smaller thumbnail style pictoral view which is great for quickly scrolling through multiple images.
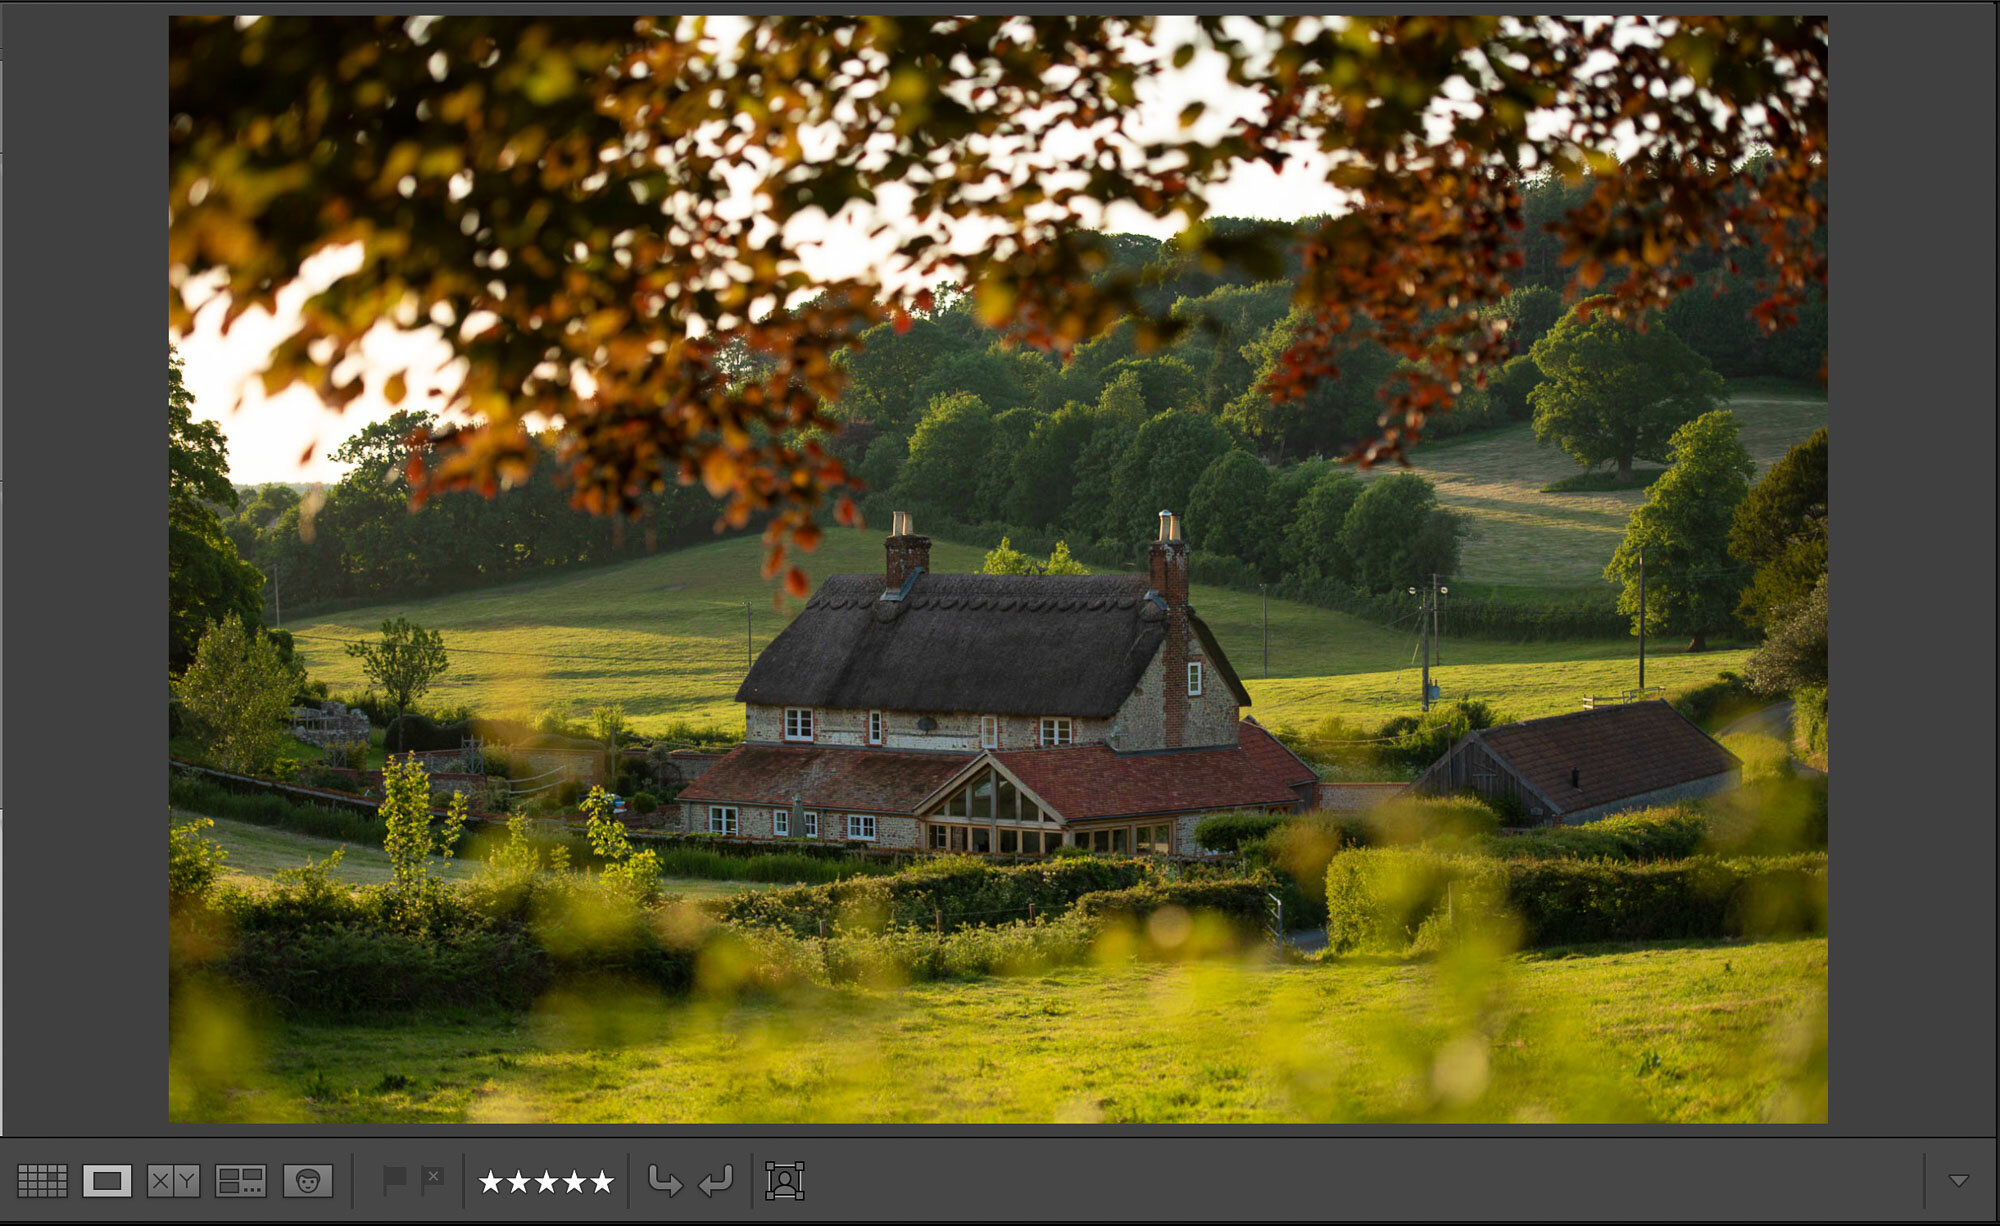
Loupe View (keybaord shortcut E) bring the selected photo to the fore and isolates it by filling the image panel. I use this when I want to check details like focus and camera blur.
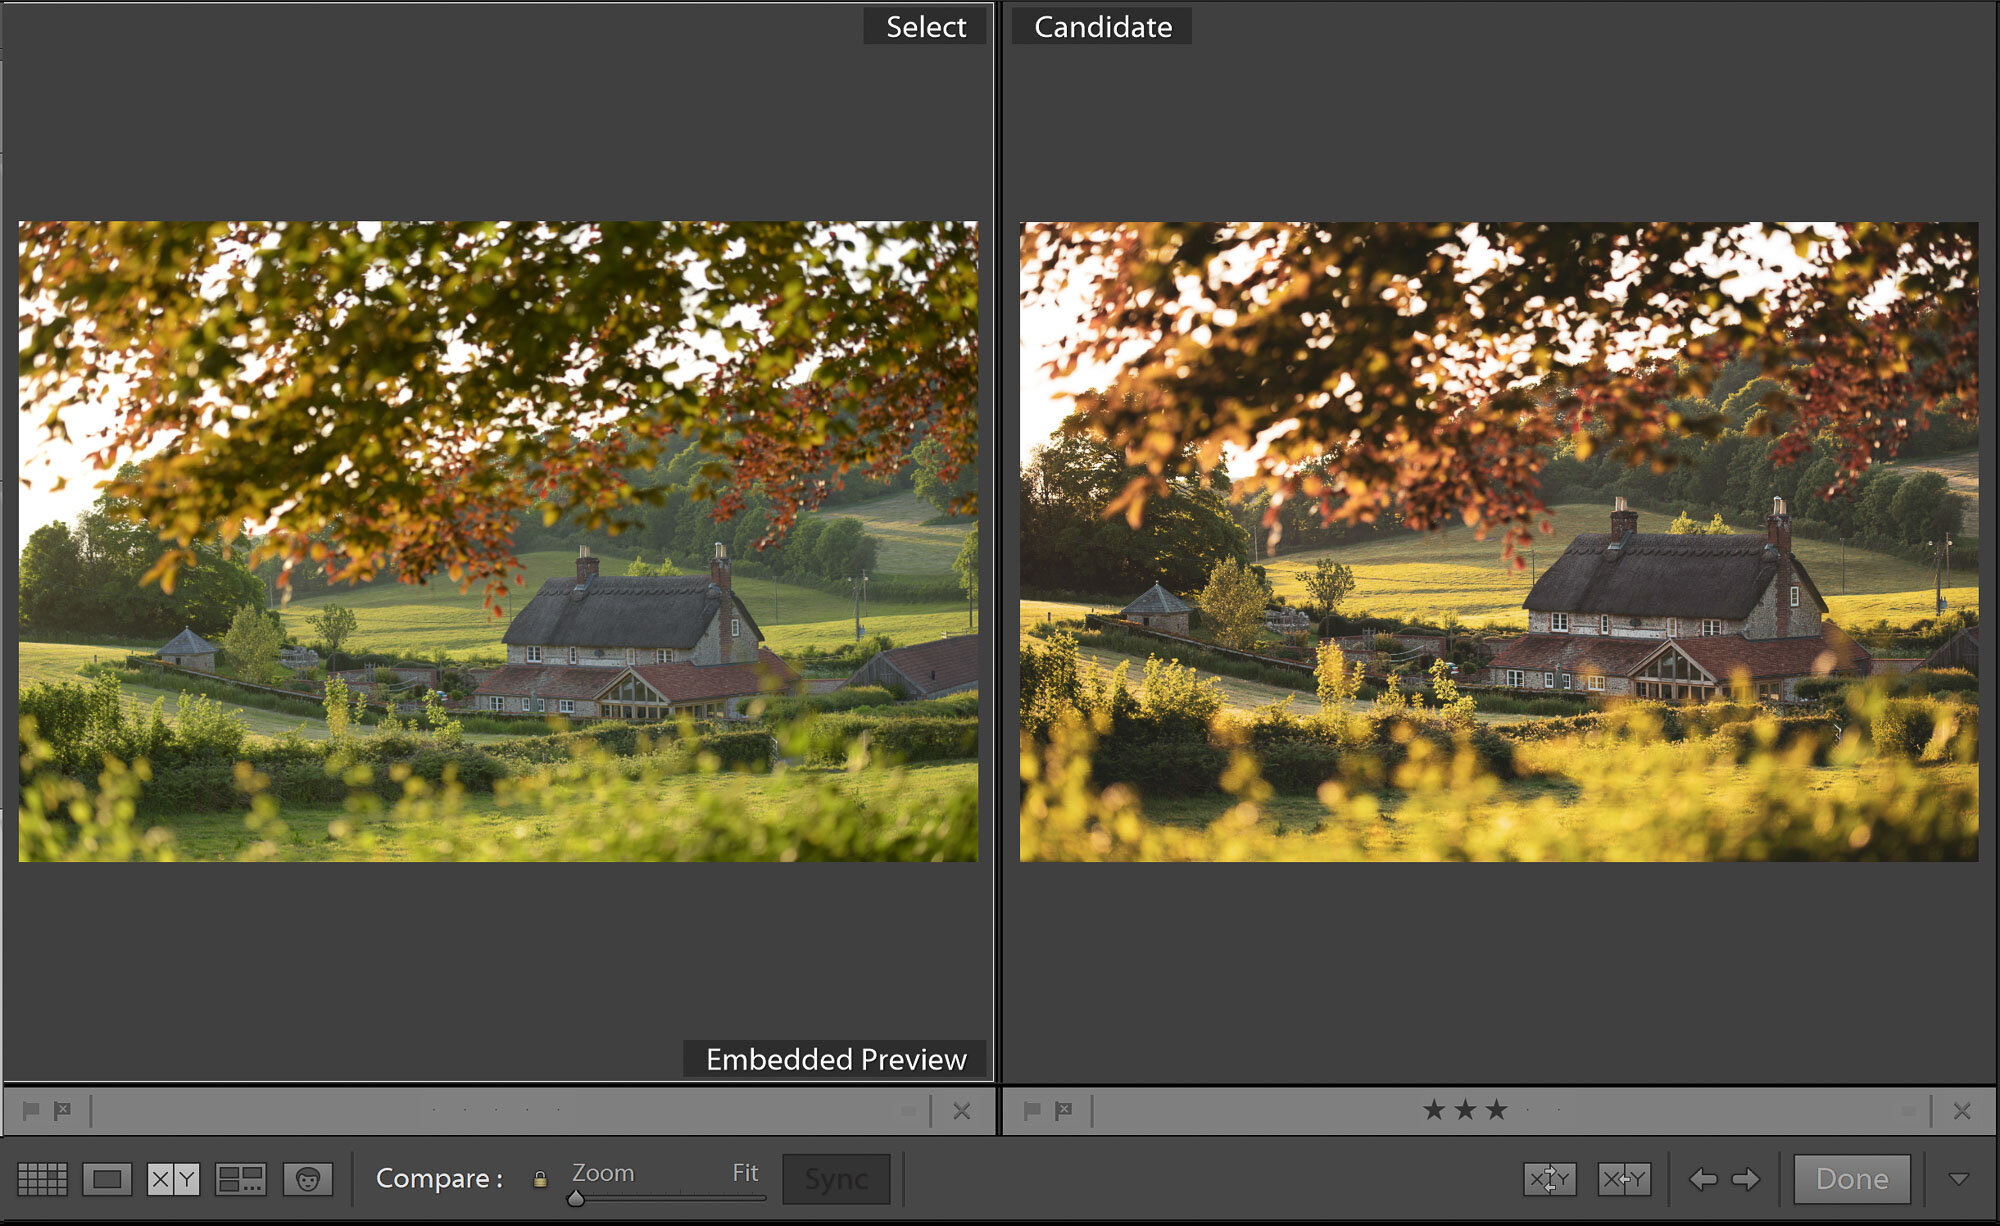
Compare View (keyboard shortcut C) shows a two-up display of two selected images and can help decide between similar shots taken in quick succession. I hardly use this.
Survey View (keyboard shortcut N) is a more sophisticated version of Compare View with multiple images now able to display at the same time. I don’t use it that often, but am finding it increasingly useful.
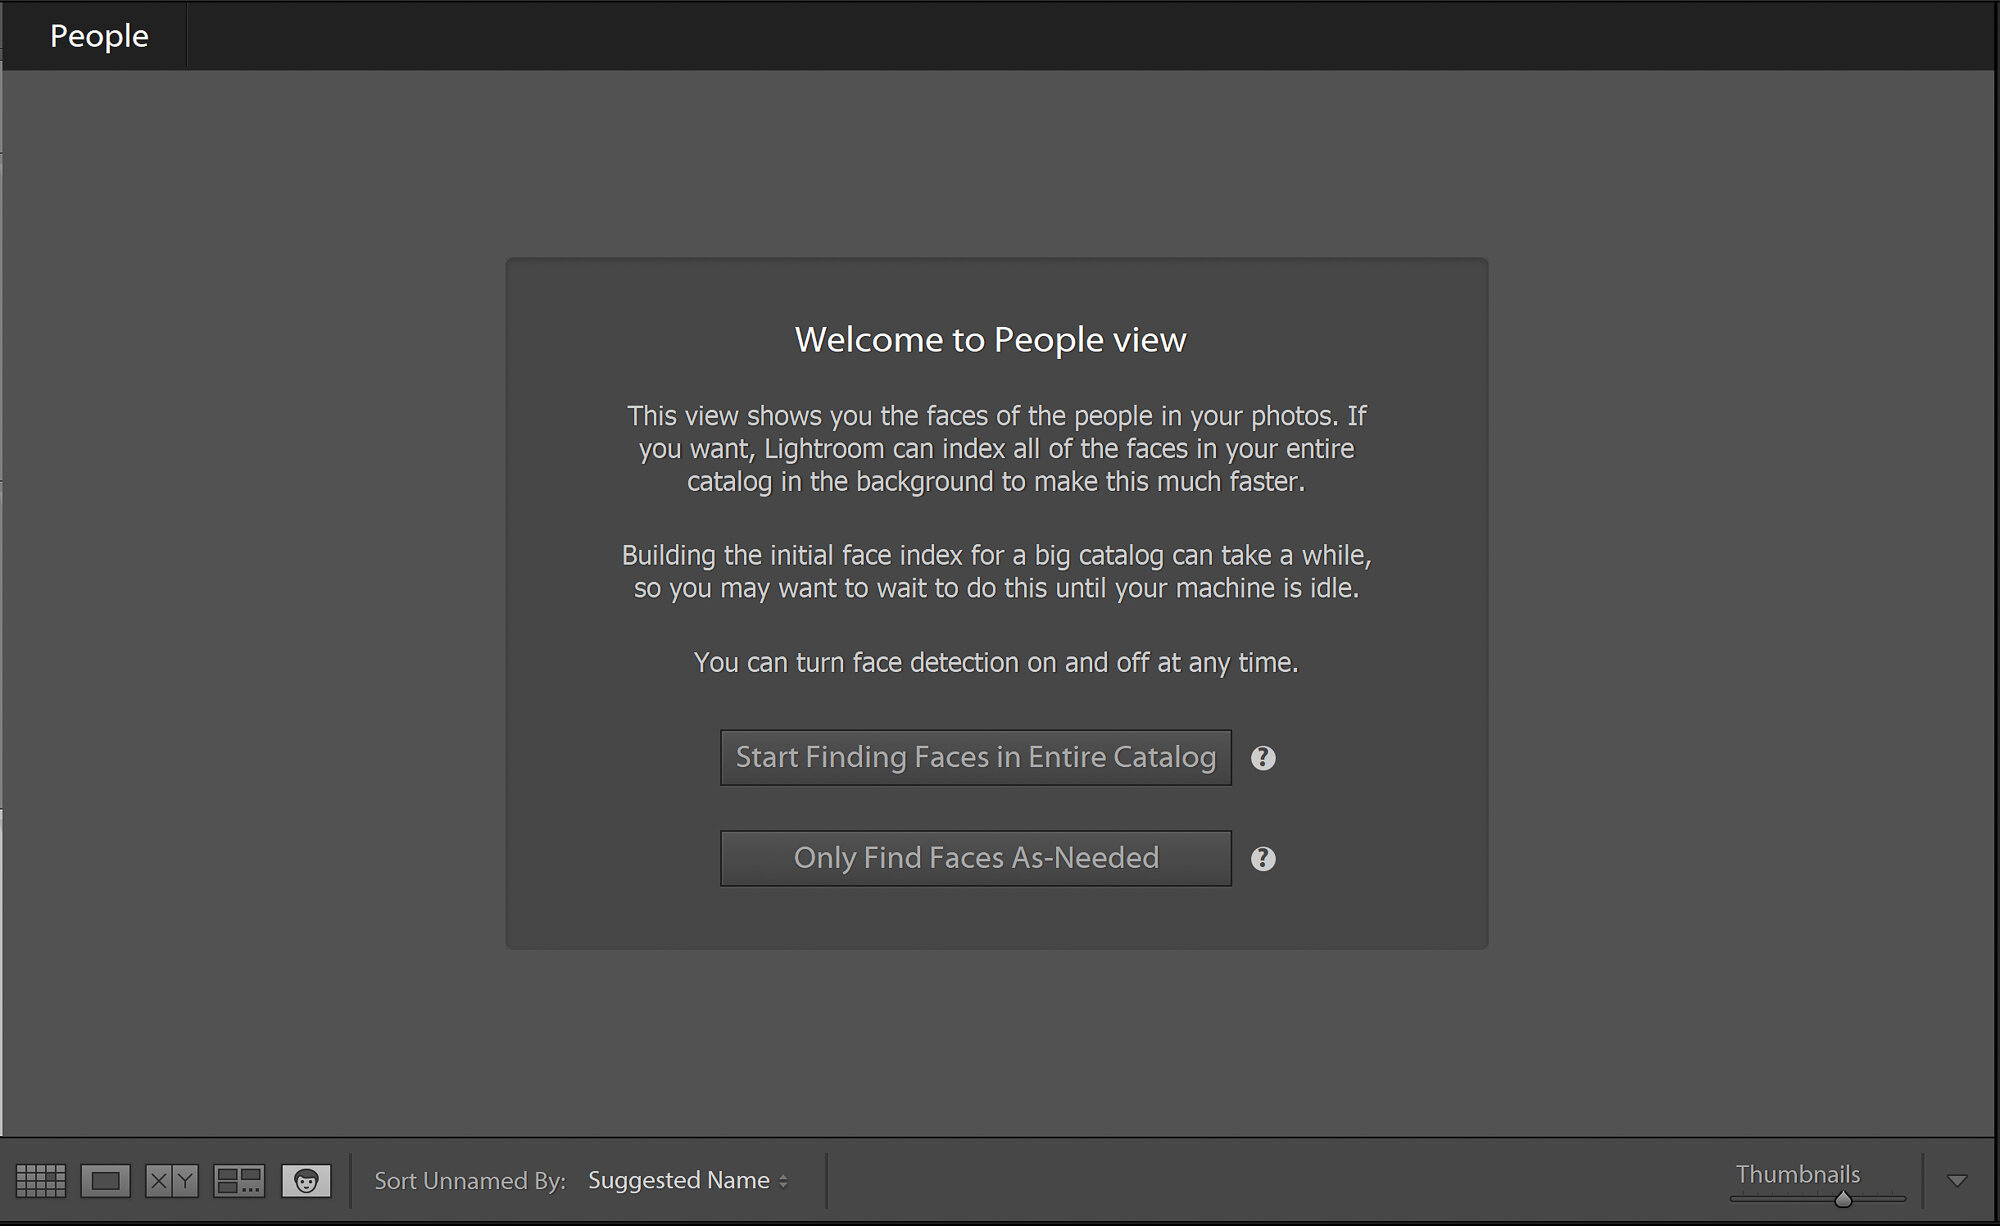
People View (keyboard shortcut O) shows photos with people in shot. You can teach the software who’s who by adding tags to images. This is useful if you’re a portrait photographer or want to organise multiple people (such as family) to quickly find photos. I don’t use this at all.

Adding Metadata and Making Changes
On the right of the Library Module you can make Quick Develop adjustments such as Saved Presets, White Balance, and Exposure, but I like the fine control the Develop Module brings, so don’t use this. What I do find useful however, is the Keyword and Metadata tabs.
By placing keywords into your images you can search for photos later on, long after you’ve forgotten the name of the place or person. With as many good descriptive keywords as possible you may be able to find that ‘cabin’ in the ‘woodland’ by just using one or two keywords to search. The Metadata tab is also helpful to add copyright and other information that can help if others plagiarise your work.

The Develop Module
Where Editing Takes Flight
Here’s where you’ll spend most of your time if you’re keen on learning how to edit. The Develop Module gives you access to all the tools needed to adjust exposure, balance highlights and shadows, alter white balance, change saturation, and much more.
This module deserves its own article, so I won’t go into how to edit here, but I will note that all edits in Lighroom are non-destructive. That is, any changes you make can be easily undone and actually make no difference to the original file stored on your hard drive. Gone are the days of hitting undo 50 times to get back to an earlier version!

In fact, if you want to process the image several ways but aren’t sure which is best, you can make Snapshots (on the left panel) to switch between different edit versions. Beneath that, History also gives you all adjustments which you can cycle through, and under that Collections allow you to navigate between groups of images as we saw in the Library module.
The Navigator (top left) shows you a small version of the image you’re working on, which is handy if you’re zoomed in and not sure which part of the shot you’re actually zoomed in on. Click and drag here and you can refocus your main image zoom. There are also options for zooming in, and by how much.

In the top-right of the Edit panel (on the right) you’ll see Crop Overlay, Spot Removal, Red Eye Correction, Graduated Filter, Radial Filter, and the Adjustment Brush. Each are adjustable in terms of position, intensity, and coverage - something I’ll get onto in another article. I use these tools just as much as any of the editing functions below them.
The Other Modules
I rarely use anything else, because I don’t geo-tag (GPS) my images, I make my own books, I never use slideshows, and I have my own website. However, occasionally I’ll use the Print module if I need to create a PDF contact sheet for a client. But I don’t imagine most non-pro users will need this function either, so I won’t go into that here.
Top 3 Hidden Lightroom Tips
There’s a couple of useful tips to be aware of when in the Develop module. Click on the image in the centre and you’ll automatically zoom in. Click again and you’ll zoom back out. Hover your cursor over an image in the film strip at the bottom and you’ll see the Navigator switch to a different photo - great for getting a closer look at the images without cycling back to the Library module.
Import quickly by dragging and dropping. Head to the Library module, then open your computer’s File Explorer (PC) or Finder window where the photos are, and highlight your shots, click and drag them into the Lightroom window and it’ll open the import dialogue screen.
Resize a brush with the square bracket keys on your keyboard [ and ] or right-click while holding Alt and drag to the left or right.
Summary
Overall, Lightroom Classic 2020 is a fantastic piece of editing software which can almost do it all. It has the function to forward an edit straight to Photoshop CC if you need it, and occasionally I’ll do that to either add specialised sharpening methods, or to fine-tune clone stamps or patch healing on objects that need removing from the shot.
Other than that, Lightroom is a brilliant editing software which, in my opinion, has no match for in terms of functionality and ease of workflow. I’m not endorsed or sponsored by Adobe, and have my reservations with their insistance on a subscription payment structure, but encourage other photographers to use Lightroom if they haven’t before, or if they’re just getting into photography.
At the time of writing the latest versions of Lightroom come in two flavours: Lightroom Classic and Lightroom CC. CC is the ‘lite’ version with a different user interface and designed for function across multiple devices such as iPad, smartphones, and laptops/desktop-based computers. If you’re serious about getting into photography, start with Lightroom Classic.
For beginners, I’d say go for Lightroom, rather than Photoshop, in the first instance. Usually Adobe forces you to get a creative suite with Photoshop included, but start with Lightroom as it’s easier to handle multiple files simultaneously.